Today we’re going to show you how to make our favorite food on the planet: wood-fired pizza!
We’ll be cooking the pizza on a kamado grill (the Primo XL400) and you can follow the advice and instructions in this video for cooking pizzas on any kamado grill, including the Big Green Egg, Kamado Joe, Primo grill, and more.
We have to admit, getting pizza cooked right is easily the hardest thing we’ve tried on our Primo. Cooking meats low and slow or using the reverse sear technique removes a lot of the potential for error.
Cooking pizzas in a really hot oven from scratch? Things can go wrong really easily.Fortunately, even though we made a few mistakes, we’ll share those lessons we learned the hard way so that you don’t have to make them too. Ultimately, wood-fired pizza is the best pizza, so it’s worth the challenge!
Why Cook Pizza on a Kamado Style Grill?

First, you should know that we love pizza.
Yes, we’re adults, and yes…maybe our taste buds never graduated middle school, but we don’t care – we love pizza!
Wood-fired pizza is easily the best way to make pizza, but not everyone has a wood-fired oven. Although wood-fired ovens like the ones from Forno Piombo are rising in popularity, and smaller portable ovens like the Ooni Pro are making wood-fired pizza cooking more accessible, it’s going to be some time before they catch up to the number of kamado-style grills in America.
Kamado grills are known for their ceramic casing which can maintain high or low temperatures for long periods of time.
They’re great for slow smoking a pork butt for 14 hours, or you can use them to sear steaks at 700 degrees. Kamado-style grills use charcoal or wood (or both together) as a fuel source to add great flavor and the perfect amount of heat.
More and more people are discovering they can cook pizza on kamado-style grills. Their ability to maintain high temperatures and radiate heat from above and below make them a great option for wood-fired pizza cooking without a wood-fired pizza oven.
We knew that cooking pizzas on the Primo XL400 would be a challenge, but we wanted to try and see what we could do.
If you want to try cooking a pizza yourself, then make sure to read this post and watch the video so you take a shot at it and, hopefully, avoid the same mistakes we made!
Equipment for Cooking Pizza on Kamado Grills
If you’re ready to cook some pizzas on your kamado-style grill, you’ll need a few extra pieces of equipment.
Most kamado grill companies will have their own versions of these items, but many generic options will work just as well. Here are the key pieces of equipment you’ll need:
- Ceramic heat deflector plates: These are very important, as they allow you to cook your pizza over indirect heat. If you cook over direct heat (the fire going straight up into your pizza stone) you’re much more likely to burn your pizza.
- Pizza stone: This is what you’ll cook your pizza on. The stone gets placed on top of your grill grate and creates a consistently hot cooking surface. It also gives your pizza that incredible crisp bottom that wood-fired pizzas are famous for.
- Pizza peel: A peel is like a giant spatula made for pizzas, and you can find them at most kitchen supply or BBQ stores. You’ll use it to slide the pizza onto and off of the cooking stone.
-
Pizza screens: While not required, we highly recommend them if you’re a beginner or planning to cook a lot of pizzas.
Pizza screens are typically made of aluminum mesh to allow for lots of airflow. They give you a surface to prepare your pizza on, and they make placing pizzas on your stone much, much easier.
When we first tried to place our pizza on the stone directly, the dough got stuck on the peel and it landed wrinkled on the stone. -
Fuel source: You have a few options when choosing a fuel source. Most backyard chefs will use charcoal as their heat source and add some oak wood chunks for the wood-fired flavor.
While you can certainly go this route, for a truly wood-fired experience, you can use oak wood chunks exclusively.
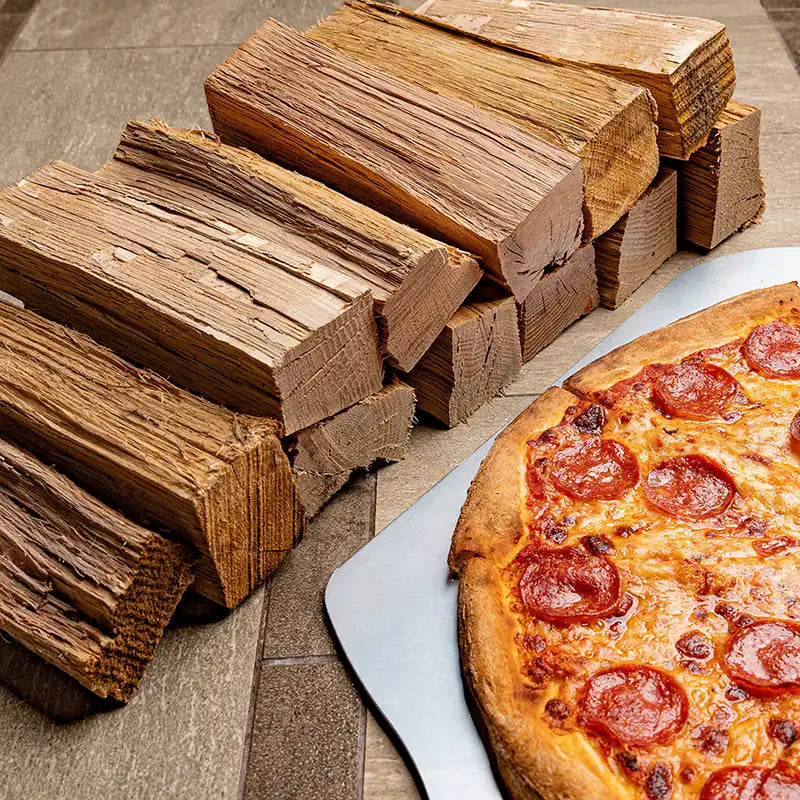
Depending on the size of your kamado grill, you could also use our oak cooking splits or even our pizza oven firewood. You can learn more about the qualities of the best wood for pizza ovens here. For a variety of different flavors for those with more experience, try out our other flavors (species) of Wood chunks for smoking or Splits. - Gloves: Heat-resistant gloves are always important when you’re cooking at high temperatures.
That pretty well covers the equipment you’ll need. Now, let’s talk about how to prepare yourself for wood-fired pizza success.
Preparation Steps for Cooking Pizza on Kamado Grills

-
Clean your grill: Removing ash allows your grill to heat up and hold its temperature better. Cleaning your ceramic heat deflector and grill grate will remove any juices from past cooks.
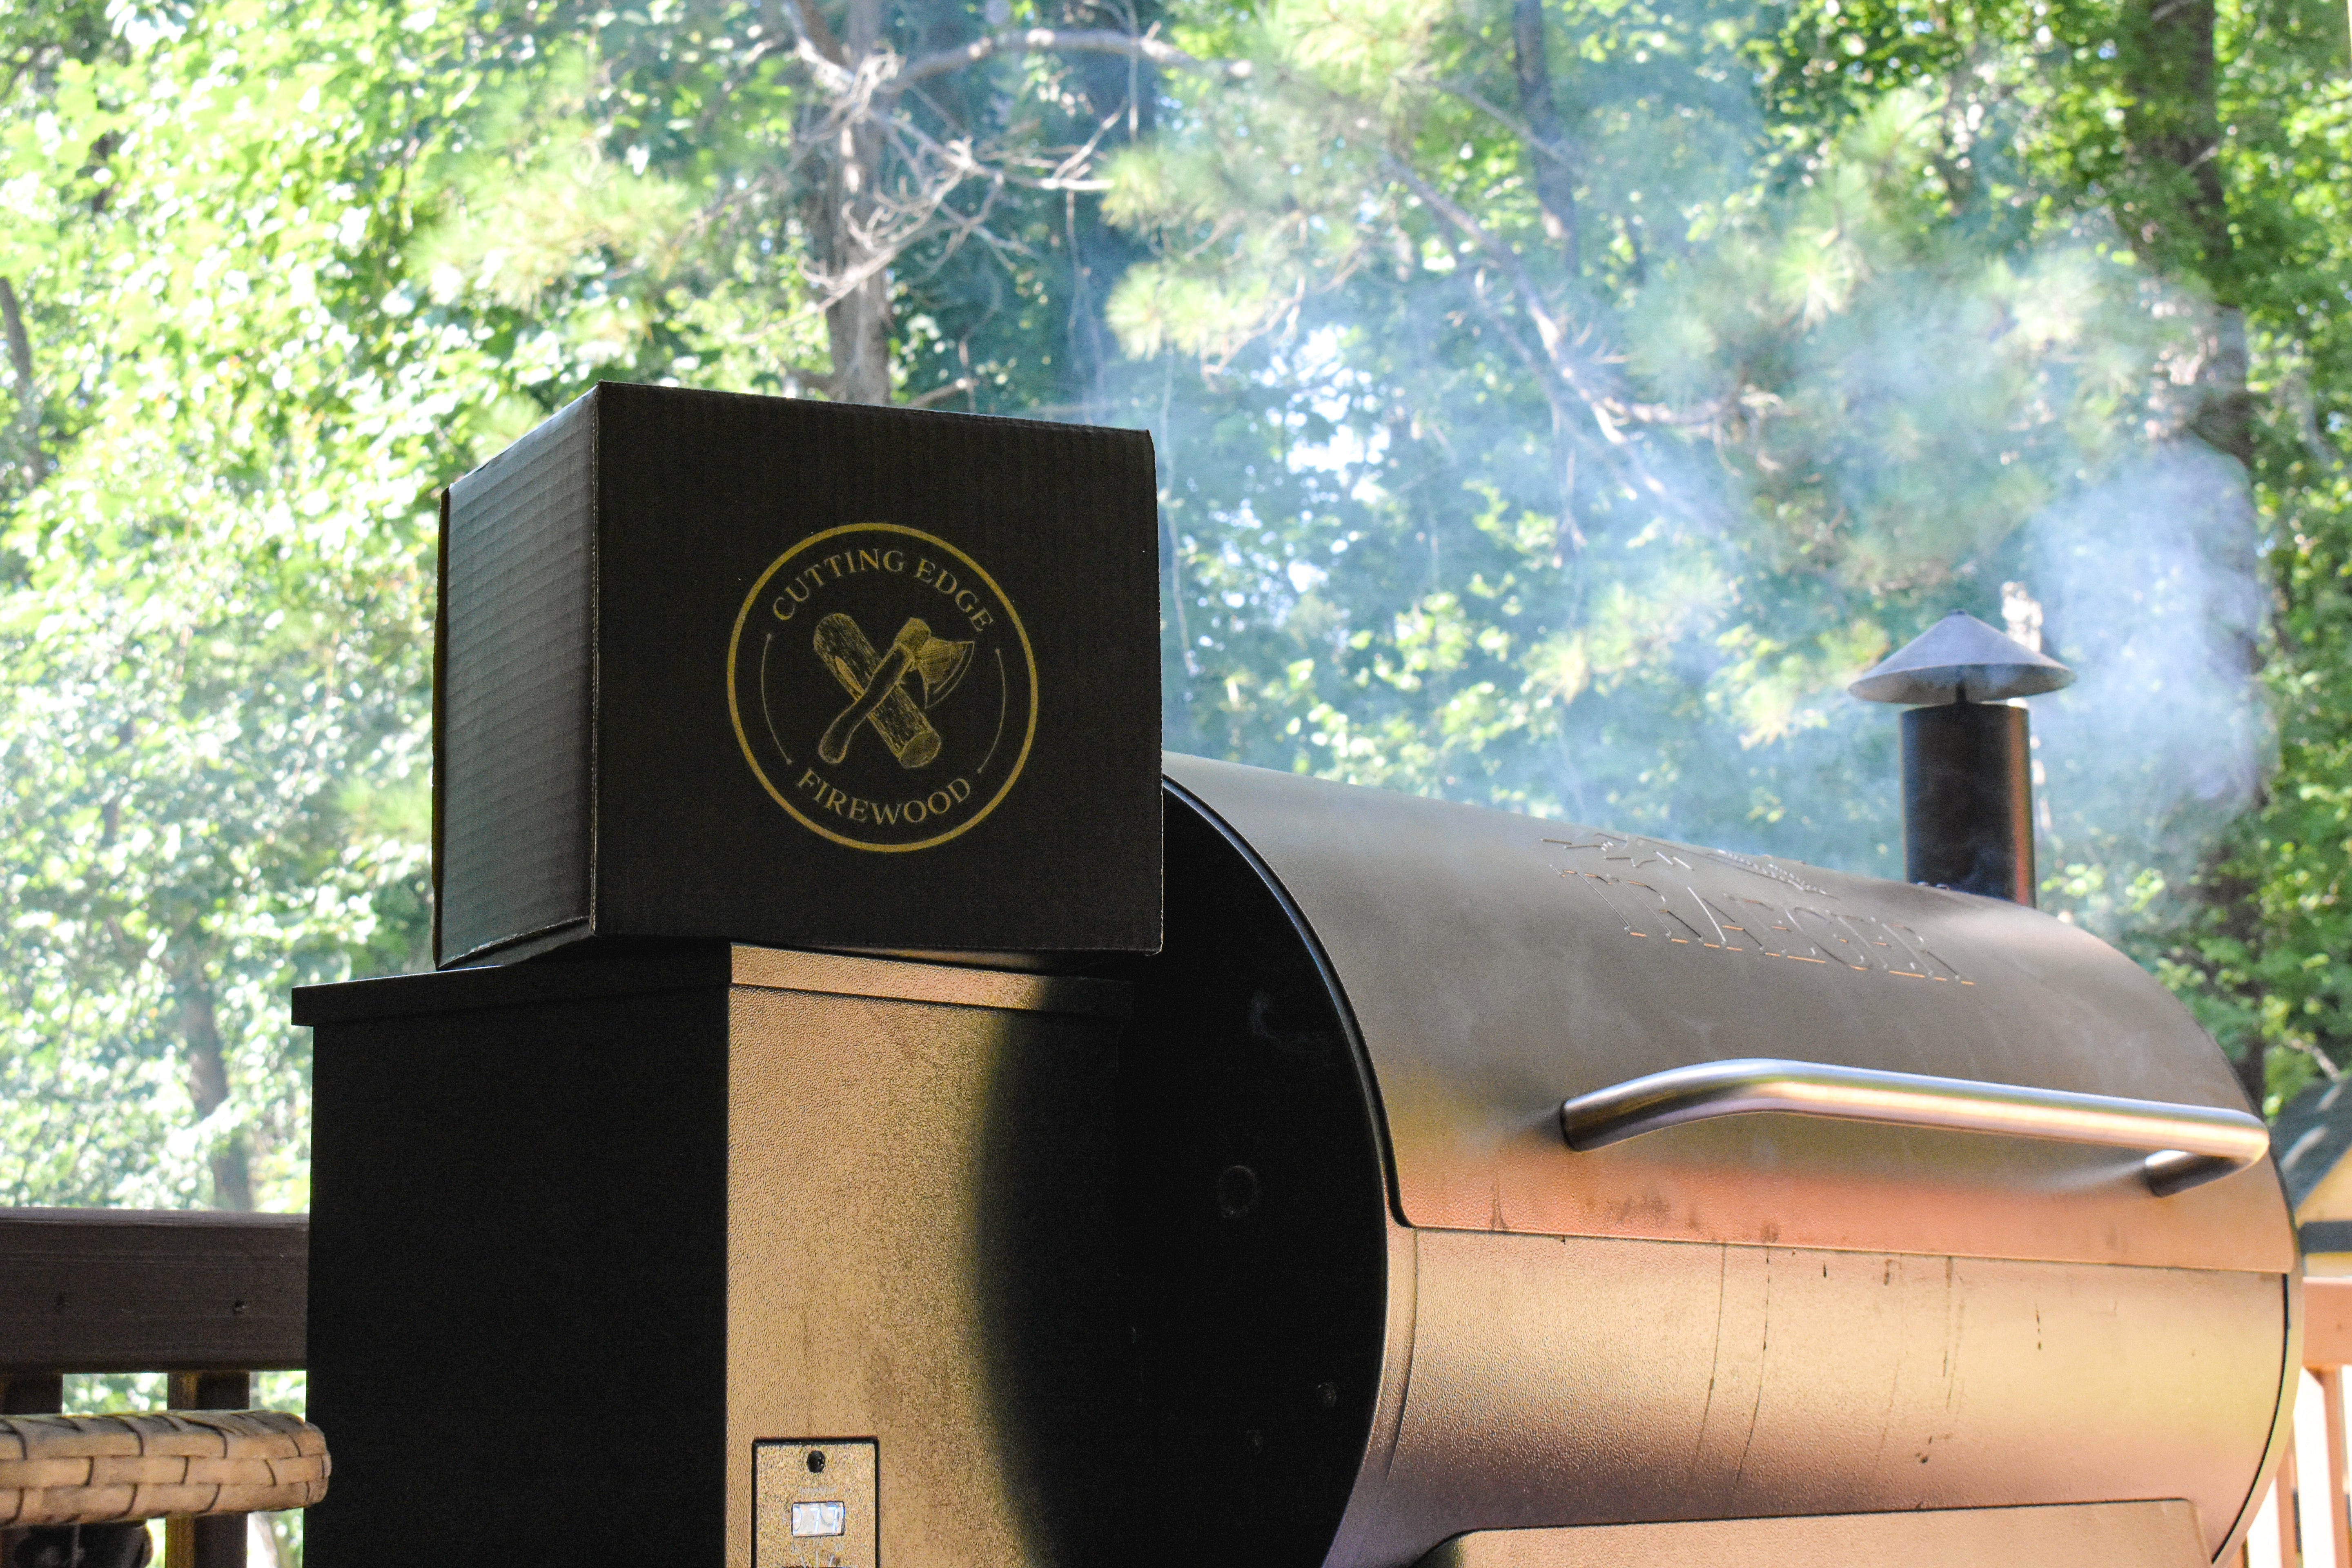
A dirty grill will create a dark smoke like the picture below, and pizza crust is extremely absorbent and takes on flavor fast.
You don’t want your cook from last week to add any off-putting flavors to tonight’s pizza! Learn more about cleaning your kamado-style grill.
-
Preheat the grill for a long time: You will need to allow about an hour to preheat your kamado grill for pizza.
First, you need to bring it to a pretty high temperature. Then, both your pizza stone and the ceramic lid also need to be heated. This process takes time, but it also helps get your grill even cleaner.
High temperatures in kamado grills allow them to self-clean. -
Consider the temperature: Many backyard chefs will cook their pizza at 700 degrees, and professionals will even cook it at 900 degrees.
That’s crazy hot!
When done right, cooking at higher temperatures will produce better results, but it is also easier to get the timing wrong and burn things.
We cooked our pizzas around 500 degrees – which is still pretty hot but also left less room for error.
Hopefully, that provides some helpful advice for setting yourself up for success to cook pizza on kamado-style grills.
Now, let’s talk about the ingredients.
Making Pizza from Scratch: Ingredients and Recipes

Did you know you can cook frozen pizza on kamado-style grills?
It’s true!
WeI didn’t want to settle, however, so we decided to make everything fresh.
Pizza is pretty simple to make from scratch, especially if you follow the following recipes.
Pizza Dough: We tried two different pizza dough recipes, and found that while one was easier, the other one was tastier. We recommend the tastier one…it was still pretty easy, but it did require more time.
The tastier one comes from Emeril Lagassé and it’s a pretty basic pizza dough recipe. We liked that it’s simple, but that the Chef provides some nice ideas for adding unique flavors to the crust.
The biggest downside with this recipe is that you need to plan ahead, as it requires a couple of hours to let the dough rise.
The easier pizza crust recipe only required two ingredients – greek yogurt and self-rising flour. It tasted good, but not great. That being said, the recipe has great reviews so maybe we messed it up (not sure how – it’s only got 2 ingredients!).
The big advantage of this recipe is that it is quick – you can make this dough and be cooking within a few minutes.
For beginners or those with less time, you can grab premade pizza dough from many local grocery stores. We’ve purchased dough from Publix and Whole Foods.
Pizza Sauce: For homemade pizza sauce with incredible flavor, use San Marzano tomatoes – we used this pizza sauce recipe.
The recipe made enough pizza sauce for 4-5 pizzas, and since we only cooked 2 pizzas, we were able to freeze the other half and save it for later. The recipe doesn’t call for it, but we blended the tomatoes because we like our pizza sauce smooth.
You, however, can keep it chunky if you prefer – it’s your backyard, cook how you want!
Cheese and Toppings: We know that this is an old Papa John’s motto, but there is a lot of truth to the idea that better ingredients make better pizza.
Every ingredient matters – so don’t settle!
We used some cheap mozzarella cheese and, despite having an awesome sauce, the pizza was a little disappointing. Choose fresh vegetables, flavorful meats, and fresh cheese.
Cooking wood is another ingredient that often gets forgotten about. Wet or musty wood will add a wet, musty flavor to your meal and that is never good.
As top chef Richard Blais says, “Firewood is an ingredient. Once you wrap your head around that and understand that great cooking uses great ingredients, you’ll want to use Cutting Edge Firewood.”
Directions for Cooking Pizza on Kamado Grills

Once you have your Big Green Egg, Kamado Joe, Primo Grill, or whichever Kamado style grill you’re using preheated and ready to go, it’s time to cook some pizza!
If you’re using a pizza screen, make sure it has been well-oiled or seasoned, otherwise, the crust will stick to it (see more in lessons learned below!)
Roll the crust out onto your pizza screen, cover it with pizza sauce, add the desired cheese and toppings, and then prepare to place it in the oven.
Get your gloves on, slide the pizza peel under the screen, and then open up your grill. It should be around 500 degrees. Slide the screen and pizza onto your pizza stone and briefly enjoy the sizzling sound before closing the lid.
If you do not use a pizza screen, then make sure you put a ton of cornstarch on your pizza stone and pizza peel. Pizza dough is sticky, and if you don’t have a barrier then parts of it will get stuck in transition which can create some ugly pizzas.
For the Emeril pizza crust, we needed 7-8 minutes to cook the pizza.
The 2-ingredient pizza dough was a bit smaller and only needed 6 minutes.
Every oven and pizza crust is going to be a bit different, so keep an eye on things. Every time you open the oven, you release heat, so be careful about doing this too much! Letting it cook for at least 6 minutes is probably a good starting point for your first pizza, then take a peek and see if it looks like it needs another minute or two.
Don’t forget to check the bottom of the crust either – depending on your pizza stone and kamado grill, it could be cooking a little faster than the top. If this is the case, you can try raising your entire pizza stone a bit higher to get the pizza closer to the top which is radiating heat downward.
Some people like to cook their pizza halfway on the pizza screen, then once the crust has started to cook, they slide the pizza off the screen and directly onto the stone. You can try that too!
Once your pizza is done, remove it from the kamado and let it cool.
Keeping it on the pizza screen will allow the underside of the crust to stay a bit crispier as it allows moisture to evaporate outwards and not collect under the crust.
That’s it! You have just cooked pizza… Bravissimo!
Lessons Learned from Cooking a Pizza on my Primo XL400

This was probably the hardest thing we’ve cooked, and so it comes with the longest list of lessons learned!
A few of these have been mentioned in the directions above, but we’re going to reemphasize them a bit here.
- Start at a lower temperature – cooking your pizzas at 500 degrees is going to allow more room for error than cooking them at 700 degrees. It’s a good starter temperature, and once you get some practice you can always increase the heat.
-
Watch the bottom of the crust – We thought our first pizza looked so beautiful…until we saw the bottom!
We overcooked it, and taking it off just 1 minute earlier would have made a big difference. Cooking directly on the pizza stone might help prevent this, and raising your pizza stone a bit could help too. -
More time to preheat the Kamado: Another way to help the top cook more evenly is to give the kamado grill plenty of time to preheat so the entire grill can radiate heat.
This also gives your kamado a chance to burn off any old juices from previous cooks and produce a cleaner, clearer smoke. -
Clean your grill: The first couple of pizzas we ate tasted a little like greasy smoke. It wasn’t from the wood chunks or charcoal, but rather from a dirty grill.
Once you start cooking at high temperatures, the grill starts to burn off the juice and chunks of meat that have stuck to the ceramic grill plates. This creates a dark smoke that does not taste good.
Cleaning your grill by removing the ash and safely wiping off the insides will produce better results every time! -
Start with a pizza screen: We’ve cooked pizzas 3 times now, and the first two times we used pizza screens.
On our third attempt, we tried using the pizza peel to place the dough directly onto the pizza stone. It was a sticky mess. Adding lots of cornflour can help (We thought we were using a lot, but apparently you need a LOT!), but pizza screens are a nice and easy way to get started.
The screens also make prep easier, and they’re cheap. -
Season your pizza screen: The only problem with pizza screens is your crust can stick to them. We lost about half of our crust on one pizza because it became one with the screen!
You either need to apply a lot of oil to the screen, or you can season your pizza screen like a cast iron skillet which will help prevent the crust from sticking in the future. -
Use quality ingredients: Most of our ingredients were high quality – We used Cutting Edge Firewood chunks, nice charcoal, an excellent sauce, and fresh toppings. But then we settled for store-brand shredded mozzarella cheese.
That one ingredient took the whole pizza down a notch and we won’t be using it again.
Use great ingredients if you want great pizza!
Conclusion

Making pizzas in your kamado grill is a fun way to do something different and experience the amazing flavors of wood-fired pizza.
If you decide to cook pizza on your Big Green Egg, Kamado Joe, or Primo grill then we hope this post is helpful for you! And if you do happen to be an expert, please feel free to share your own tips and tricks in the comments below!

